
This page will guide you through on how to add a Shopify integration to your myOGO account with a few simple steps!
On this page
- Installing the integration
- Synchronizing products
- Setting up shipping methods
- Shopify Dynamic checkout on Pickup Points
- Tips & OGOship recommendations
Installing the integration
- Start by signing in to your myOGO in one tab and Shopify in another
- in myOGO select an existing merchant that you wish to connect your store to under the Globe icon
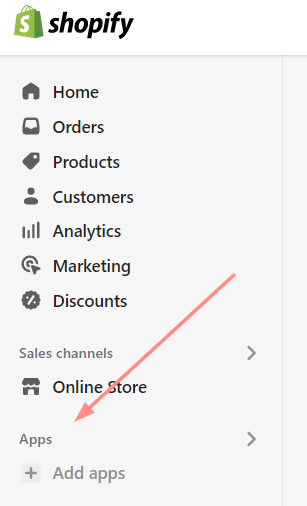
- Go to your Shopify, under Apps click on + Add Apps
- Click "Find more apps in the Shopify App Store"
- Search for OGOship
- Install the application to your store
- After successful installation, you will be re-directed to myOGO
- In case you have multiple myOGO merchants, you will need to confirm the select merchant where the integration will be installed
- In myOGO then navigate to edit merchant settings under the Globe icon → Edit merchant → Integrations
- If you wish to add in the first order date or order number
- Select the warehouse to be used
- Adjust the settings
Synchronizing products
Once the integration is set up, it's time to sync your products, go to the Products → Sync webshop products. If the products are not yet visible, click Refresh. If you have multiple stock locations, you can switch the stock you want to manage from the dropdown menu.
When the products are visible on the Shopify side of the page, click on all, or the desired products, and select Create product. Read more about the product sync page.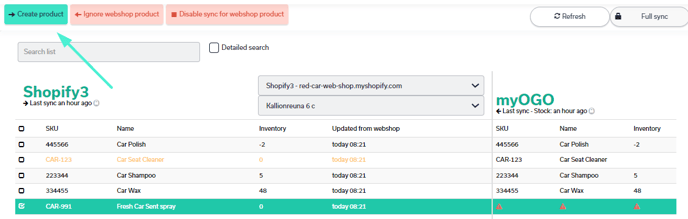
When the physical products arrive at the warehouse, the stock amounts will be visible in both myOGO and Shopify.
Setting up shipping methods
Now that you have your integration set as well with products created next you need to connect the shipping methods from your online store to myOGO.
There are a couple of ways to do it depending on the online store used, please find the detailed guide for shipping method configuration here.
With Shopify, the steps are the following
- In Shopify: Create your wished rates under the specific shipping zones
- Add in specific Rate Name's for the created shipping options
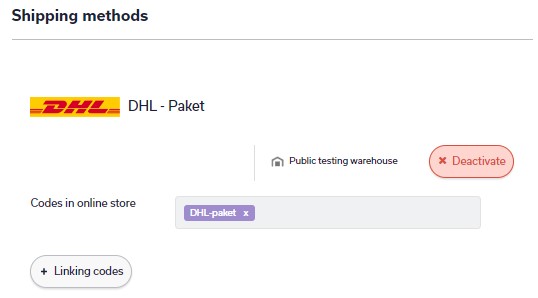
- In myOGO: Open the Edit merchant page and then go to Shipping methods
- Look through the list of active shipping methods, find the one you wish to do the linking to
- Input the rate name from Shopify into the Codes in online store field. Make sure you get a purple box created to the field.
- Save
- Then repeat the steps for all wished shipping methods that will be taken into use
Shopify Dynamic checkout on Pickup Points
OGOship currently supports the following applications in Shopify:
- Parcely
- Budbee
- Instabox
- Posti
- nShift Checkout
- Pakettikauppa
- Nordic shipping app
Tips & OGOship recommendations
1. Setting order's automatic fulfillment in Shopify
Once the integration is in place it is recommended to enable automatic fulfillment for order's in Shopify. This way you don't need to fulfill all orders manually. To enable automatic fulfillment follow these steps:
- From your Shopify admin, go to Settings → Checkout.
- Go to Order processing section.
- Under the heading After an order has been paid select:
- Don’t fulfill any of the order’s line items automatically
- Click Save.
2. Email notifications
- Under notification settings, you can customize the emails sent out to your customers
- Once an order has been shipped from OGOship warehouse, you may notify your customer that their parcel is on its way.
- If the selected shipping method offers tracking the tracking code and link will be synced to Shopify from myOGO
3. Return handling
- Remember that myOGO will always be the main source for your stock count if that is enabled in your store.
- When an order is returned to OGOship warehouse and the sold item is added back to stock, myOGO will update the stock level back to Shopify accordingly.
- For this reason, when you refund your customer and create the return in Shopify do not add the item back to sellable stock in Shopify. This may lead to extra stock that can lead to overselling of stock.