
This page will guide you through on how to add a Sello integration to your myOGO account with a few simple steps!
On this page
Installing the integration
Sello is an e-commerce management platform which specializes in marketplaces. Sello can be used for selling your products from your online store platform or straight from myOGO to many different marketplaces. Sello with OGOship can be used with or without integration to an online store.
- Start by login into your Sello account
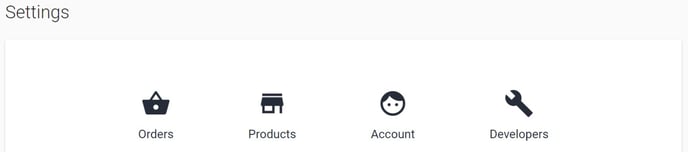
- Go to the upper right corner → Settings
- Click Developers
- Click to create a new API
- Give the API a name
- Select all permissions and click create
- Copy the created API key

Next you may add the integration to myOGO
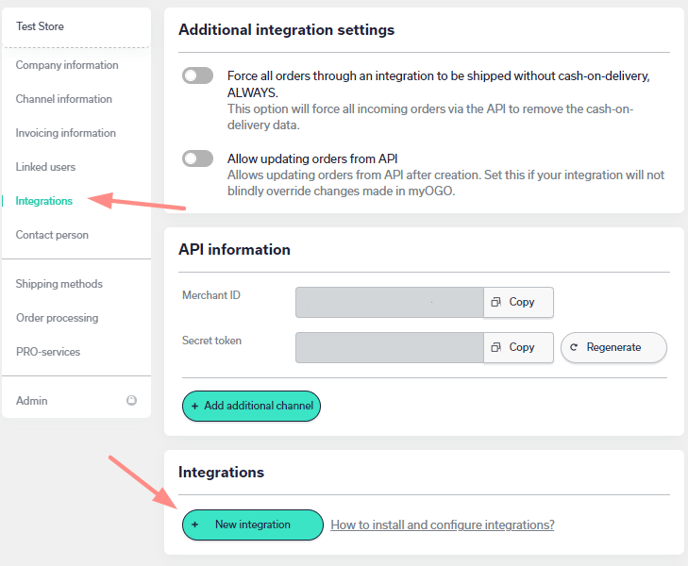
- Go to Edit Merchant → Integrations
- Click on New Integration
- Choose Sello
- Fill in the API key
- Select the warehouse to be used
- Adjust the settings
Synchronizing products
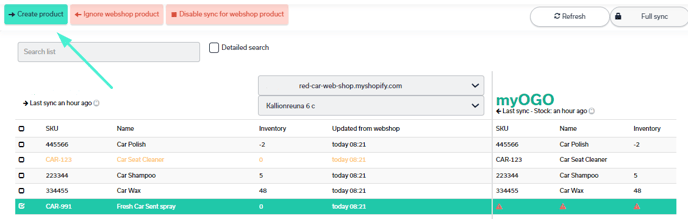
Once the integration is set up, it's time to sync your products, go to the Products → Sync webshop products. If the products are not yet visible, click Refresh.
When the products are visible on the left side of the page, click on all, or the desired products, and select Create product. Read more about the product sync page.
When the physical products arrive at the warehouse, the stock amounts will be visible in both myOGO and the online store.
Setting up shipping methods
Now that you have your integration set as well with products created next you need to connect the shipping methods from your online store to myOGO. Once you have created the shipping methods to your online store, please find the detailed guide for shipping method configuration here.